


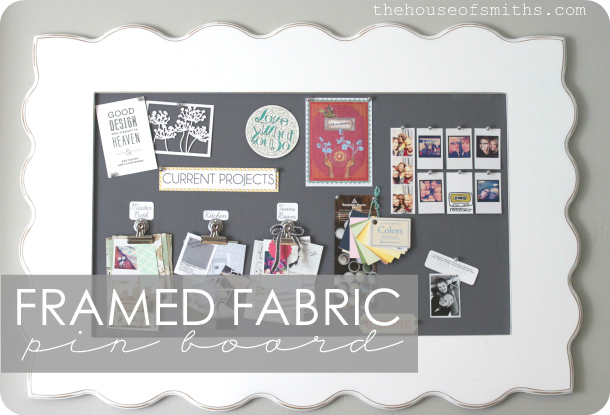
DIY Framed Fabric Pin Board – A Blogger’s Office Makeover
Yay! An office update (sheesh, it’s about time eh?) For those of you who are new, we’ve been working on what WE like to call…

You can read ALL about our office makeover so far here, and specifically more about our most recent projects, which include our custom worktable with faux barn wood finish and DIY stenciled storage boxes.


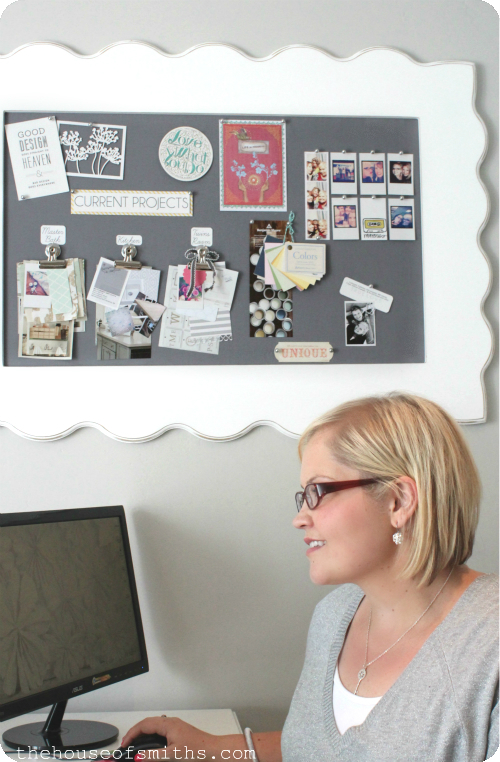
Today, I’m sharing my large framed fabric pin board!!!
I’m seriously in L.O.V.E with this piece and couldn’t be happier with how it turned out. A big huge thanks to one of our favorite, long time sponsors, Orange Blossom Shop, for making this fun project possible!


Shauna and Courtney were beyond patient and accommodating when I asked them to create this larger-than-life frame to house my new pin board in. In true House of Smiths fashion, not only does it keep me ultra organized, and serve it’s purpose of storing all of my decor madness and ideas, but it’s beautiful as well! The perfect backdrop for a Home DIY bloggers office
🙂
So here’s how we did it:
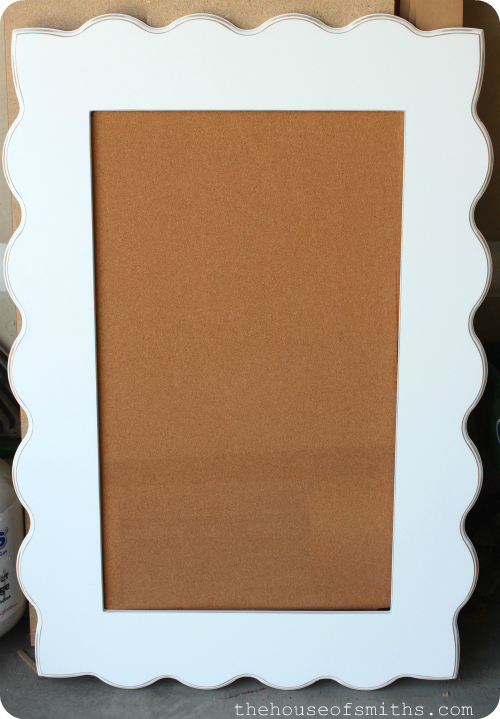
* Find your perfect frame. I picked the Cooper style frame in white.
My frame measures a total of about 45×31 inches.

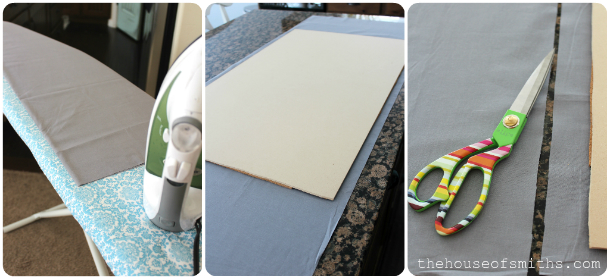
* Purchase a thin piece of MDF project panel board, to use a stable backing for your pin board. There are lots of different widths to choose from.
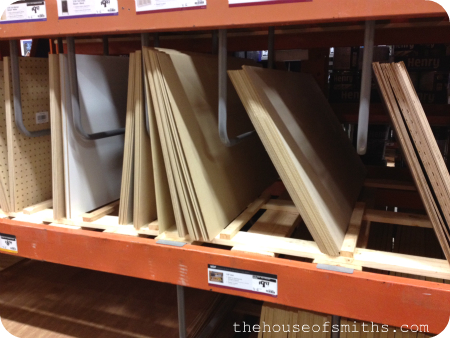
* Have a happy helper cut it for you at the hardware store, so you don’t have to get out any big tools when you get home. ha! 🙂

* Using a roll of cork, lay your board (that is now the size of your frame insert) on top, and cut your cork out with a utility knife. I got my cork at Joann’s.
* Use Spray adhesive on the board AND on the cork. Let dry for about one minute, and then adhere the two together.
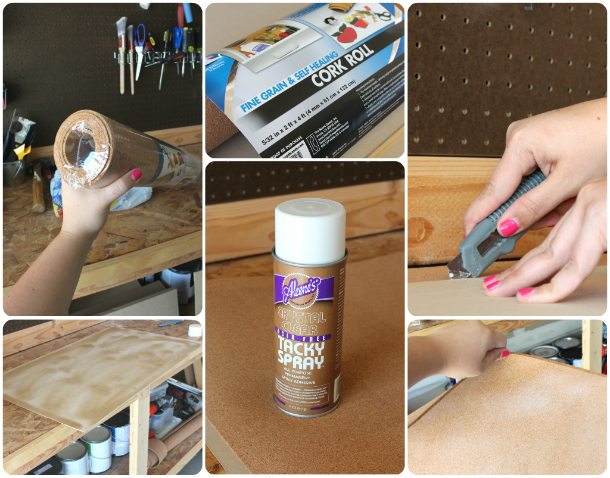
You will have a product that looks like this. If you want a plain cork board, then you’re done! If you want a fabric covered cork board, keep reading…
* Purchase any fabric that you like, to cover your cork and board.
( I purchased a yard and a half, but really could have gotten away with only a yard)
* Iron your fabric well, so that you don’t have any creases.
* Lay your board with cork on it, face down on the fabric, and cut around it, leaving about an inch of excess, for wrapping the fabric tight.
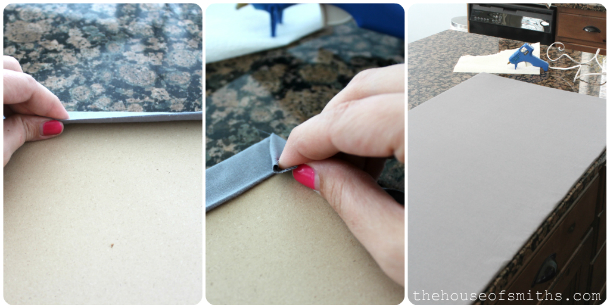
* Using hot glue, pull the fabric around the back of the board and adhere it. For the corners, just fold them in much like you would when wrapping a present.
* Once your fabric is on, place the finished piece inside your frame, and use a point driver to shoot tabs into the edge, to keep everything in place. We purchased this tool at Hobby Lobby. It is AWESOME, and we’ve used it a ton! You can also find it here. If you don’t want to purchase this product, then you can have tabs put in by the Orange Blossom shop girls as well!
I just wasn’t sure how thick my end product was going to be, so I finished it off myself.

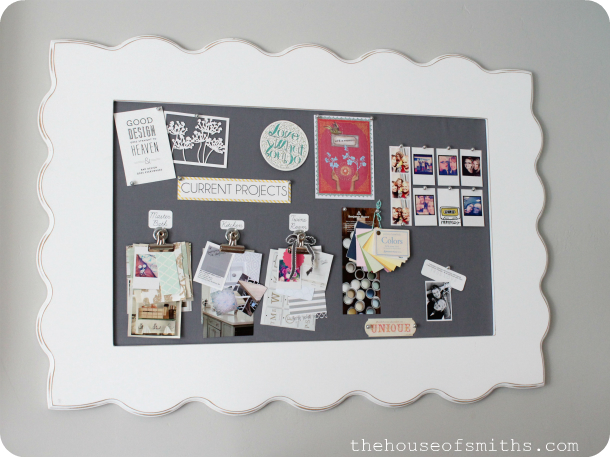
Voilà!
Your framed fabric pin board is done!
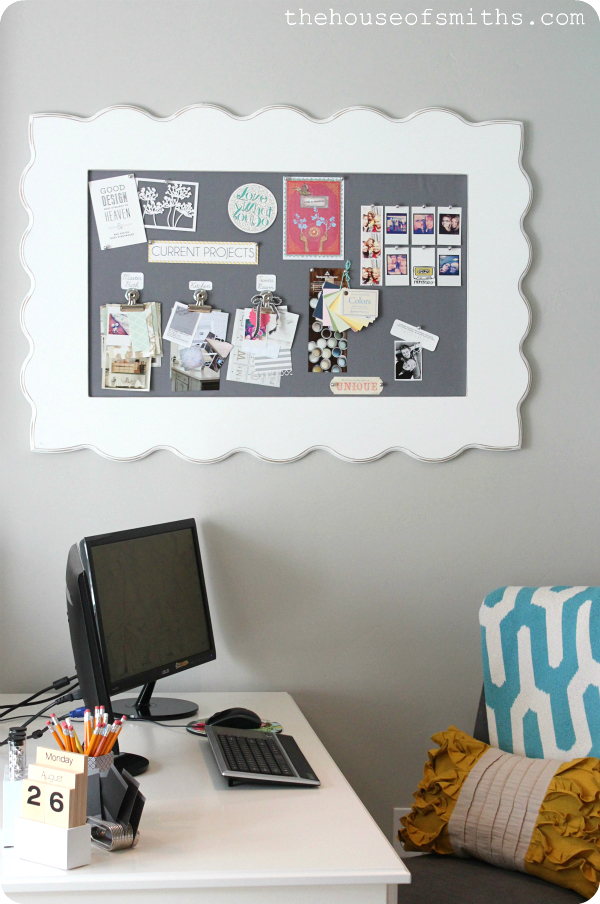

I’ve used my pin board to collect quotes, art and photos that make me happy and inspire me, but most importantly, I use it to keep all my room decorating odds and ends together. It’s great! I collect such random things to use as inspiration for room re-do’s that it’s awesome to have a place to put them all, now!
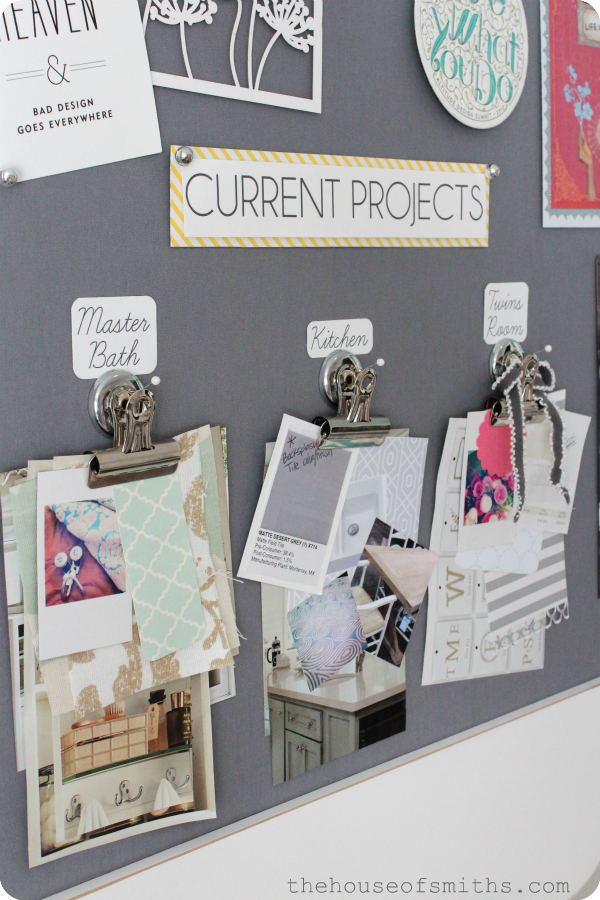

I’m stoked about how this all came together. And really, the skies the limit with how you can make a fabric framed pin board work for YOUR space! Think of all the different frame styles, fabric patterns/colors and decor that you can use and collect, to make your pin board a direct reflection of YOU!

Whitney says
This is great! And you look beautiful. (by way of general PS) keep up the good work!
How2home says
awesome! love this idea! the contrast of black and white is gorgeous 🙂
Kate Riley says
Love it so much Shelley! And I LOVE the quote on good/bad design, ha!
xo
Kate
Alicia says
Love it! It turned out super cute!
Unknown says
So cute! I am currently making something similiar. I love yours! Good job as always.
Jen Gilday says
Just love it!! So perfect!
Jen
athomeinthenorthwestblog.com
Sarah says
Love that – its a great way to add some pizzaz to what could otherwise be boring. Cute cute!
. says
I love it! Looks great:)
Beja {Howdy-Honey} says
Very cute! I am currently remaking my office, too. It's at the front of the house, so everything is a wreck, and it's the first thing people see. Loving your real live pinning board ;D.
Ruby Jean says
What a lovely board. I only wish my board would stay looking so organized and PRETTY!!! Mine always ends up looking like ONE of my many junk drawers.. 🙂
Angelina
Mekenzie @ Interiors by Kenz says
LOVE IT! It looks striking in your office 🙂
Kim says
the frame is adorable, but look at your beautiful profile! you're such a cute girl!
Amber says
this is so cute! now I want to make one. I also want a work space that's not in a common area (the kitchen) but that will all come in time.
Thanks for the idea and tutorial! pinning to save for a rainy day!
Unknown says
looks great! love the frame!!
Carol-Anne says
LOVE your office and your blog, but I really wish you didn't have that DIY video thing come on automatically! I wouldn't mind if I had the option to hear it, but for it to just come on spontaneously gives me a hear attack!
But still love your blog.
karlaskreativitykorner says
I love the frame!!! It's fantastic.I think something like this will look fantastic in my new baby's nursery.
BTW…you look amazing!!!!
Heather says
I love your board! Also, I was wondering where you got the mustard color pillow? I love that. Thanks!
Karen F says
okay, so where is the size you bought on that website?
Kathy says
I can see why you are so happy with it. I LOVE IT….great job and thanks for sharing. Regards Kathy A, Brisbane, Australia
Jenny Whiting says
Cute, cute board! Just wanted to say that we received our September edition of This Old House and it was so cool to see your entryway in there!! I saw it and thought, "I know that!" I love what you did to your closet and that's awesome to have it featured in a magazine. My husband and I both love This Old HOuse. Congrats!
Unknown says
Wow that looks great. I thought it was chalk and a magnet board at first. I love the frame too.
Ronda Batchelor says
Woot Woot!
Aurie Jenkins says
We just moved to Utah, and in true "stalker" fashion, I keep hoping I will run into you somewhere. :O) I think you are awesome! I love your decorating ideas and have used a lot of them in my home. I have been wanting to do this type of pin board for some time, thank you for this post. :O)
Unknown says
Awesome! I love it! 🙂
Afton Vander Pol says
love the board- question what did you use for your current projects section? are those mini clipboards? how did you fasten them to your board? thanks
Chris and Steve says
Love it! But not as much as you and your family. Miss you guys, 6 more months and then we can see all of the cuteness in person.
Miroslaw Kiciak says
It looks very nice, but how you trimmed frame?
sale@bargains-zone.co.uk
Jeannie-JB says
Soooo Cute! I love it.
girl3of8 says
This is beautiful. The frame is gorgeous. Since you've provided such stellar instructions, I'm going to make one with a cast off frame I have. Love the tool! Thank you!
Unknown says
Oh, I love this!
cherylschmitt says
Love it!
Mama McCormic says
So fun to scroll through your post and take it all in, and then I hit the last picture… dang girl! I know you've been working hard and it shows! You look fantastic! Thanks for continuing to inspire!
Pitter and Glink says
I love the frame and how you organized your "room decorating supplies"! 🙂
Micayla Behr says
You are so gorgeous! you look GREAT girl! keep up the good work!
Y Mama says
Cute! That frame is great!! I was going to try the ole', buy a huge ugly goodwill print for the frame trick…until they installed our house alarm panel when I wasn't home to specify where..looks like I'll be ordering a frame now!!
Aimees5 says
Love love love….
Jennifer Interiors says
Love the office!!! Almost as cute as you! 🙂 If only I had the money and energy…my office would look like that.
BTW, I'm offering FREE E-designs at my blog, so spread the word.
easypeasychic.blogspot.com
Unknown says
Love it! I especially like how you have all your project inspirations for each room clipped together. It looks really cool!
SarahN @ livetolist says
Gosh you're getting slim and gorgeouser!!
Unknown says
This is so great! I love the white and gray together. I might have to try this!!
Paula O says
loves this!!! so doing this for my girls room!! yeah for your inspiration as always!
Jen says
Love it Shelley! I am especially digging your little clipped projects. I hate having clutter and that's the perfect way to gather little snippets of inspiration. I can honestly say, ironing to remove all creases from the fabric would be the most difficult part for me LOL
Anonymous says
Seriously you look hot! Keep up the amazing work.
LBHumble says
I love this!! I pinned it this morning:) Am I supposed to let you guys know when I do that? What are the "Blogger" rules. I'm not a Blogger, I just want to be respectful-thanks!
LBHumble says
I love this! I pinned it this morning. If I pin something, am I supposed to let the Blogger know? Just want to be sure and be respectful-thanks:)
Unknown says
So cute and creative!! I would love to know where you got your insta-Polaroid pictures and the sweet printables from your board?
Unknown says
So cute and creative!! I would love to know where you got those Insta-Polaroids and sweet printables? And by the way keep your awesome inspiration and joy seeing your work!!!
The beginning of a new start says
Hello, I love the idea of the letter clips attached to another metallic substance and the pin is somehow helping the clips while holding on those papers stay on the cork board. I would love to know where you got those sphere look alike metallic substance that is attached with the letter clips? I would really appreciate it! My room is so messed up with ideas and I always ran out of what to do to keep my room organise and tidy. This really inspire mee with how the ideas really come into favor together!! It puts a smile on my face seeing your work like seriously!!! XD
The beginning of a new start says
I really like the idea of the letter clips holding on those papers while attached with another substance sphere metallic sort of like. I would love to know where you got those sphere metallic look alike substance that are attached with the letter clips? It be much appreciated, thanks! My room is messed up with ideas and I always ran out of ideas with how I want to organise and tidy my room all the time. This piece of work of yours really gave me inspiration! It is truly awesome seeing this work, amazing!!
Pippi21 says
I need to make a board like that but for Future Projects..I'm in process of putting together a 3 ring binder of some projects I'd like to hire a contractor to do for us in 2015. The first 3 months of the year are usually so cold, snowy sometimes, and that is a good time to really put together something like you have created. Thanks for the inspiration! I'm my DH's caregiver, so don't know how much I'll get accomplished.